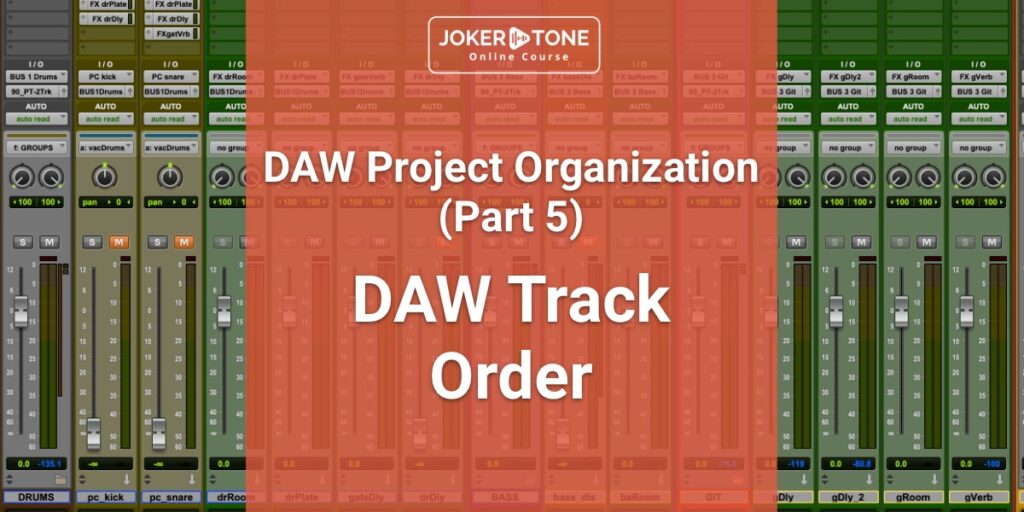
This is the fifth part of the DAW project organization series, and this one is about the DAW Session Track order for your music production.
In the previous blog posts in this series, I have already listed a few points to make the DAW Session more manageable.
With an additional DAW session track order that you keep in each of your productions, you have the final element for an optimally organized music production on the digital level.
Sorting the tracks
As a teenager, I started playing guitar, singing, writing my own songs, and playing on stage with my bands. In a 5-piece rock band, we had a quick stage set-up, just like in any other kind of formation.
The drummer sat at the back, if possible, on a podium to have a better overview. The bassist positioned himself in front of the drummer, slightly offset to his left or right. The two guitarists split up on the left and right flanks, while the singer and frontman were allowed to take over the presence and animation of the audience from the middle.
I adopted this staggering of a live band from the beginning as the order of the tracks in a recording project and it is still reflected today in my DAW Session Track order.
This sorting is by no means a standard, and everyone has their own personal feelings and opinions. As an example, you could also choose the order according to the “importance” of the tracks in the song. Or divide them up according to rhythm or lead parts. There are no rules here.
The only rule there should be is the continuity of your DAW track session order.
I have learned a lot from my band and stage experiences. For example, 99% of a sound check started with the drums, followed by the bass, guitars, and other instruments, and finally the vocals. In the mixing process, I also followed this procedure in this order for a long time. At some point, I changed this sequence in the mixing process, but the DAW session track order in the visual layout remained the same. I’ve gotten so used to it that I can immediately find my way around in each of my sessions.
The groups/routing folders
My DAW session track order starts with the respective groups or in Pro Tools the so-called routing folders. On the one hand, these serve as a visual effect to make the assigned tracks disappear as if they were in an order and to be able to unpack them again. On the other hand, the folder with its own fader, insert, and bus functions acts as a sub-bus (aux track).
- DRUMS
- BASS
- GUITAR
- INST
- VOCALS
In this order, you can immediately recognize the stage setup of a “normal” rock band at a glance. By collapsing the folders, I have a rough overview of all the groups right next to each other in a minimal space.
Track types within the group:
Each group contains the following track types, which are also subject to a certain DAW Session Track order structure:
Audio tracks
The audio tracks contain the important audio data of the session. If possible, only the final edited audio tracks are shown in a mixing session. Everything that is not required has been hidden or already deleted.
Subgroups (Aux Tracks)
In the subgroups, the individual tracks can be combined to control them together or to equip them with the same effects. Several recordings of the microphones from a guitar amp can be brought together here, or even all the background vocals before they are routed to the main VOCALS group.
Effects Aux
The aux tracks with the effects are a crucial part of the final sound and are always placed at the end of the main group after the audio tracks.
In the past, I often placed them at the end of the session like on an analog mixing console, but this turned out to be rather cumbersome in the DAW Session Track Order.
Tracks after the groups
VCA
Even though I personally use very few VCAs effectively in my workflow, I always have them in the layout of my DAW Session Track order. When I was still using an Avid controller with EuCon protocol in Pro Toos, VCAs were not only useful for track group control.
At the touch of a button on the VCAs, all assigned tracks could be displayed and “placed” on the controller. That was a great workflow. I’m currently using two controllers from Solid State Logic – SSL UF8 and they don’t support the Eucon protocol. These are connected to Pro Tools via Hue. The SSL 360° app option allows buttons to be assigned short codes. This allows me to achieve a similar workflow and jump to the desired group in the session at the touch of a button.
SUM-BUS (2Track)
All tracks or main groups come together on the sum bus (the 2-track). Further tonal processing usually takes place here. This can be done using harmonic plug-ins, EQ, bus compressors, tape, or saturation effects. With these settings, the entire final mix is affected. Depending on whether I am producing a single song on its own, the maximum volume is also set here using a limiter and maximizer.
If I am producing an EP or even an album with several tracks, then this step only takes place in the joint mastering. However, this does not affect my DAW session track order, and the 2-Bus always follows the VCA channels.
Recorded mix
The Rec-BUS (in my case also in Pro Tools – “PT2Rec”) has established itself with me over various years. I like to use a hardware compressor on the 2Bus (currently the Creme Compressor from Tegeler Audio). This way, the digital signal has to be routed out of the computer once and then back into the hardware compressor after analog processing. This workflow is not a problem thanks to the hardware inserts available in Pro Tools, which look like a plug-in slot. However, a digital offline bounce is then not possible. To achieve this, I record the final mix back onto the 2Rec bus in real-time at the end.
Reference track
The reference track is the guide track before the mixing starts and a helper to avoid getting completely lost in your own sound. I like to use this one track, or occasionally two tracks, during the mixing process for cross-checking, but above all for double-checking at the end, these types of songs are located directly behind the 2-Bus and the 2-Rec track.
Monitoring Path
Monitor Speakers
One of the essential paths in the mixing session and in the DAW session track order.
The monitor path leads beyond the interface to the monitoring boxes. I currently use two interface devices on my system.
- A Universal Audio Apollo system
- A Merging Anubis interface, to which the monitor speakers are connected
I use the UA system for recording and mainly the Anbuis for mixing. With two different monitor paths, I can choose directly where and how to monitor the signal.
If you would like to find out more about my monitoring system, I can highly recommend the following blog post. “My best monitoring system I ever had“
Headphone mix
Of course, it would be sufficient to send the desired tracks directly to the headphone output. But I prefer an aux track as a “headphone sum” at the end of the session tracks. Here I can still control the entire level, monitor it myself in the control room, or use an additional plug-in on the inserts.
Bounce track
My bounce track is actually a track in my DAW Session Track order that leads to Nirvana. There is no real physical output here, but a bus from which the final digital file is created. On this track are my metering plug-ins and the final dither plug-in, in case the track needs to be converted to a different wav format in addition to my standard settings.
Conclusion on the DAW Session Track order:
I hope I was able to clearly show you all the advantages of why it is worth creating a standardized structure order in the session and keeping it for yourself as long as possible. It may take some time until you have found the right DAW session track order for you. Finally, you must find your way around your session quickly.
If you have further questions or want to get in contact, please consider using the contact form
Niels from Joker Tone Course