Why a daw track naming scheme will be helpful
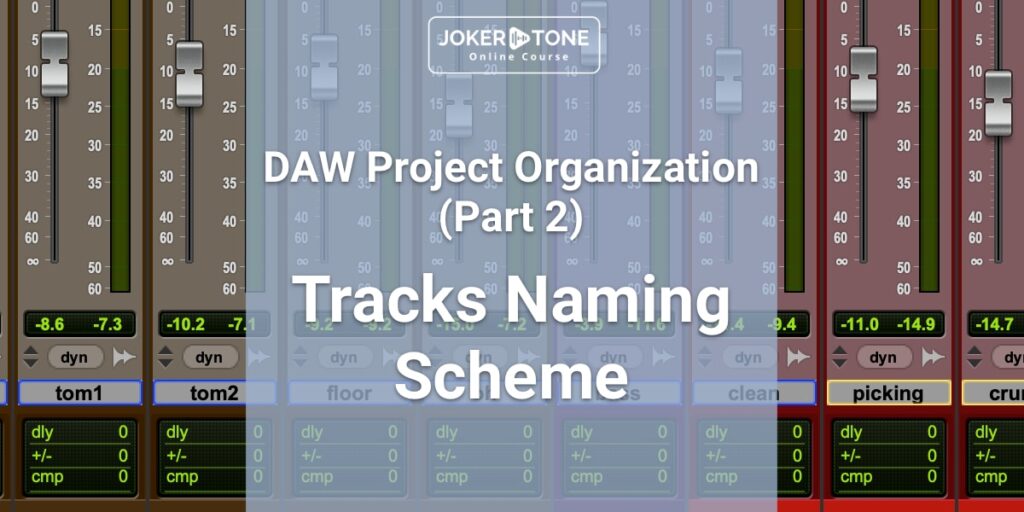
This is the second part of the DAW project organization series, and this one is all about naming. A personalized DAW track naming scheme will help you a lot to keep the overview and has some other advantages to offer. But we’ll come to that in the course of the blog post.
Naming is a personal decision and there are no official guidelines or specifications. My DAW track naming scheme has evolved from time to time over the years. For the last few years, however, it has become a very constant feature of a session. When I open very old or archived sessions, I rarely discover tracks that have not already been subjected to my DAW track naming scheme.
If you’re unsure about how it will work best for you in the end, don’t worry too much about whether it’s good or bad how you set up your DAW track naming scheme in the beginning. Occasionally, it takes a little time to get a satisfactory result.
Let’s start with an overview of the different track types in a session so that I can show you my DAW track naming scheme based on these track types.
If you like my DAW track naming scheme, feel free to use it for yourself. But maybe you don’t find my way intuitive or too complex for your sessions. In this case, you can use my DAW track naming scheme to come up with a scheme that suits you.
Overview of the tracks
Audio tracks (mono, stereo)
Depending on the DAW and your settings, you work with audio tracks on these tracks, e.g., in wav-format. The physical sound sources are saved on the tracks, e.g., your vocals or the respective instrument played manually. In other words, all analog sound sources that reach your computer and ultimately the DAW via the microphone pickup through the interface.
Samples or special effects may also already be available in an audio format, which you can import into your DAW to adapt them to your session settings and convert them to the specified audio format during import.
As a rule, you work with mono or stereo audio tracks.
Virtual instrument tracks (my abbreviation = VI)
If you record virtual instruments with a keyboard, import prefabricated parts into the DAW or create the respective notes yourself, this information is saved and mapped as MIDI data in the DAW. If you have a virtual instrument on this channel, e.g., a string section, this track is called an instrument track in Pro Tools. Basically, an instrument track is a midi track with inserts for plugins or virtual instruments.
Midi tracks
Pure midi tracks, on the other hand, only contain MIDI data and can therefore be used to control virtual instruments within your DAW, within your computer in another app or even external sound generators (e.g., a synthesizer). As there is no sound output on the channel, no plugins can be placed in the inserts. In simple terms, a Midi track is a pure control channel.
Aux channel
With the auxiliary channels, we now have the fourth type of channel for our DAW track naming scheme.
The term auxiliary, or play-out channels, originates from the analog mixing console. These are usually used to control external effects devices. This is also the case in common DAWs. A path is laid from the channel to an aux channel, and this can also be displayed as an aux channel. You can now place a reverb plug-in on this AUX channel as an example.
However, aux channels can also be used to create individual mixes that are independent of the sum, making them ideal for creating independent headphone mixes.
There are two different settings to note here
- POST fader: The volume on the playout depends on the channel fader setting. This is useful for controlling effects.
- PRE fader: The playback volume is independent of the channel fader setting. This setting allows you to create individual headphone mixes that are not influenced by the channel fader.
Group bus
You can use bus routing to create groups before they are routed to the final summing bus. By merging or dividing them into groups, you can control and automate multiple tracks more easily. For example, you can route all individual drum elements such as bass drum, snare, and overheads together on a drum group – i.e., the drum bus.
VCA
VCA faders or controls also originate from the analog mixing console world. These faders can be used to control selected channels of the assigned VCA group. This is particularly useful for automation, and volume control and simplifies the mixing layout for larger sessions.
Folder
Folders can be used in the usual way to accommodate several tracks and fade them in and out quickly. This is a very useful feature for sessions with 40+ tracks.
However, some DAWs offer even more options for folder functions. In Pro Tools, you can choose between Folder and Routing Folder. The routing folder is basically a folder combined with an aux/bus function. This not only takes over the visual organization but also carries out the routing of the assigned tracks.
Creating a personal scheme
In this section, I will show you my DAW track naming scheme. As already mentioned, these are personal views and tastes that led to this variant.
Audio tracks when recording:
Audio tracks are always written in “lowercase” and abbreviated where possible.
A few examples:
- BassDrum = bd
- KickDrum = kick
- SnareTop = snTop
- Snare bottom =snBT
- Main Vocals = voxM
Guitars often have a special status, as they are usually the core elements in my music. Direct designations of which guitar it is are also sufficient here.
Rhythm right or a number = rhyR, rhy1
Lead guitar with number = lead1
Distortion Guitar Left = gitDisL
Acoustic Guitar = akk (this comes from the German translation Akustikgitarre)
For the recording
For the first recording, the track also receives in my DAW track naming scheme an identifier for which version the recording is.
- For the main vocals, for example, this would be = voxMv1
- With each new recording version, it continues with v2, v3, etc. So I can immediately recognize which take it is.
Pro Tools is also set up so that the recording file is named like the track. If I change the track, I also change the file name.
External Hardware Bounce
If I re-record tracks in the mix or in preparation for the mix through an external audio device, e.g. an analog compressor, then this track is given the identifier .bc. This stays for “bounced with outboard” after it has been processed and re-recorded in the DAW.
Melodyne editing
I like to use tools such as Melodyne for pitch and timing adjustments. If a track is imported into Melodyne, the version with the plugin gets an “ML-” in front of the track name. If the track is then ended with the Melodyne corrections, the track with the edited version without the plug-in in the insert receives the “ml” at the end.
This way I can immediately see which track it is.
Commitment of plugins
If plugin settings are spoken into a track, the tracks receive a .cm as “committed”. This is a Pro Tools setting that I have adopted.
Finale tracks in the mix version
These are many settings that mainly happen before the mixing process. When I am in the final mix down or complete a project, all additional files such as “ml” “.bc” “.cm” are removed again. In the end, these are the final tracks that are considered finalized and included in the final mix.
Instrument tracks
Virtual instruments (abbreviated to VI) are prefixed with “VI-” in the track name as long as there is a virtual instrument plug-in on this track.
- Virtual piano plug-in = VI-piano.
So I can immediately recognize that this is a virtual instrument track with Midi data.
When I get to the point where I convert a virtual instrument track to audio, i.e. the piano is displayed as a wav file, I deactivate the VI track and keep it hidden in case I need it again later.
The converted audio track is then also given a “.cm” by Pro Tools.
Midi tracks = MID
I rarely or never really use pure midi tracks, except when I get them from other projects. For a short time, I used midi tracks as another marker and note track, but those days are over. If a midi track appears in my session, it gets the suffix .mid at the end.
Aux for effects =
I use aux tracks for the effects in the session, which can be accessed globally by any track or group. However, the effects are often used for specific instrument groups. I usually have a room effect, a reverb and at least one delay for each instrument group.
I name these as follows:
- Room for drums = roomDR
- Reverb for vocals = verbVOX
- Delay vocals = dlyVOX
It can also be more specific when it comes to certain delays
- A quarter delay for the vocals = dly4VOX
- A short delay for the vocals = dlySVOX
The following designations are also regularly used in my daw track naming scheme:
- Parallel compressor for drums or snare = pcDrums, pcSn
- Distortion effect on an aux e.g. for the bass = disBass
Instrument group bus
It is not uncommon for me to merge tracks into subgroups to work together with a plug-in or to treat them as a subgroup before they join the main group. These subgroups are prefixed with a “gr”. Here are a few examples:
- Left and right track of an acoustic guitar = grAkk
- All background voices = grBGV
- A group of choir voices = grChor
- Several microphones of a snare = grSn
- Several microphones of a guitar amp = grGit1 or grRhy
Folder
In Pro Tools, I use so-called routing folders, which serve as visual folders and group routing buses. All characters are capitalized here. So I can see directly that this is a group. At 90% I have 5 main folders.
- All drum tracks = DRUMS
- All bass tracks (often a bass amp and a direct signal) = BASS
- All guitar tracks = GIT
- All other instruments = INST
- All main and background vocals = VOX
- The main bus to which all tracks come together at the end = PT2trk (Pro Tools 2 Track Sum)
VCA
Since Pro Tools has the routing folders, I only use the VCA track options very sporadically. However, I typically still have them in the pre-set, which are arranged similarly to the folders.
In my DAW track naming scheme, I simply prefix the VCA identifier with vca.
- vcaDrums
- vcaBass
- vcaGit
- vcaInst
- vcaVox
Sidenote:
I use the VCA to control all track volumes before they reach the sum of the subfolders or main folders. If there is a compressor on one of the folders, its setting will of course also be affected by the control of the input.
The folder volume control alters the signal after these inserts. These two options therefore enable you to control or automate the volume before and after folder inserts.
Outputs
I formally acknowledge the outputs of a session by introducing them with a capital letter at the commencement. Due to my current monitoring setup, I need far fewer outputs and generally only use three currently, which I name as follows:
- Output to the main interface “Merging Anubis” = Anubis
- Output to the Universal Apollo x6 system = MonX6
- Bounce output (silent output for the bounce) = Bounce
Hardware Controller Protocol
There is one additional thing to note if you are working with a hardware controller. This is because the controller protocol used there can only reproduce a certain number of letters/numbers for naming. The HUI protocol is limited to 4 characters. This is not exactly a lot and seems rather limited. You will have this “phenomenon” if you work with Pro Tools and use a controller that is not Eucon-compatible. MCU or Eucon itself are much more convenient in terms of display.
Nevertheless, I would always advise you: “The shorter, the better”. Of course, recognition should not suffer as a result. After all, it’s no use if you can’t see through your abbreviations and can’t find your way around.
Essential for routing
A personal standardized DAW track naming scheme brings a high added value, not only to quickly find the necessary tracks but also for routing in general.
It also makes the search function much easier if you know that these tracks always have the same identifier.
Daw track naming scheme Great is great for exporting tracks
If all tracks from a session are already sorted, properly named and are to be exported (e.g., for an external mix or for a backup), they are already ready for this step. You no longer have to sort and name them again. The recipient of the exported tracks does not have to bother with strange track names such as audio_087_cut.wav. They will receive well-prepared tracks for the next production step and can then transfer them to their DAW project organization.
The same applies if you want to create a backup, archive your session or use the tracks in another DAW. With the export, you will directly receive the file with the correct name.
Conclusion
Create your own DAW track naming scheme, or let yourself be inspired by the examples I have kept for several years. It will certainly take some getting used to at the beginning, and you will change things here and there before you have discovered the perfect variants for you — but this time investment is worth it. You will be able to move quickly in every session you create and quickly find all the tracks and data you need.
If you have further questions or want to get in contact, please consider using the contact form
Niels from Joker Tone Course