
When I first started producing music, I didn’t pay much attention to session organization. I would throw tracks into my DAW without much structure, name them randomly (or not at all), and figure things out as I went. But as my projects grew larger, I quickly realized that a lack of organization was costing me time, slowing down my workflow, and sometimes even leading to mistakes.
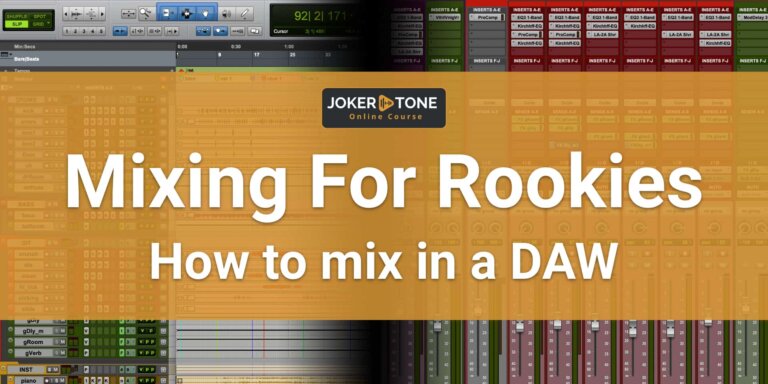
DAW Session Organization
That’s when I decided to create my own system—one that would help me stay organized, speed up my process, and make my sessions easy to navigate, even months or years later. In this episode, I want to share the key methods I use to keep my sessions structured, efficient, and ready for smooth production. Whether you’re working with 10 tracks or 100, these strategies can help you stay in control of your projects and focus on making music rather than searching for files or getting lost in messy sessions.
Track Naming: Simplicity and Consistency
One of the most important things I’ve learned is the power of a clear and consistent track naming system. Naming is a personal choice, and there are no official rules, but having a system that works for you can make a huge difference. Over the years, I’ve refined my naming conventions to make my sessions easier to read at a glance.
I keep my names short and to the point. For example, instead of writing “Bass Drum Mic 1,” I simply use “BD.” My snare top mic is “SN T,” and my snare bottom is “SN B.” My lead vocal track is labeled “VOX M.” This helps me quickly identify each track, especially when using a controller like my SSL UF8, which only displays a limited number of characters.
For groups and folders, I use all uppercase letters, such as “DRUMS” for drum buses or “GUITARS” for all guitar tracks. This way, I can easily see which tracks are individual audio files and which are groups or folders. If I’m using plug-ins like Melodyne for vocal tuning, I add “ML” to the track name so I know exactly where my edited audio is. This level of consistency saves me time and effort when working on a session, especially if I revisit it later.
Color Coding for Visual Clarity
In addition to clear naming, I use color coding to make my sessions visually organized. Different DAWs have different color options, but in Pro Tools, I like to match the color of my track channels and audio clips. This makes it easy to see what’s happening in both the mix and edit windows.
I assign colors based on the type of instrument. Drums get a brown shade because I associate them with wood. Bass tracks are deep purple, representing their low frequencies. Guitars are red—since they’re often the driving force of a song, I want them to stand out. Vocals get navy blue, which is actually the default in Pro Tools, but I’ve kept it because it’s burned into my memory as the vocal color. Backing vocals are a lighter blue, and additional vocal layers might even be a soft green for differentiation.
Having a consistent color scheme allows me to scan my session quickly and find exactly what I need without reading every single label.
Track Order: Following a Logical Structure
Just like setting up a stage for a live performance, I follow a logical track order in my sessions. When I started in bands, we always arranged ourselves in a way that made sense—drummer in the back, bass to one side, guitars on the flanks, and vocals in the center. I apply the same thinking to my DAW sessions.
I always start with the drums, followed by bass, guitars, other instruments, and finally, vocals. This order stays the same in every session I create. By sticking to this system, I always know exactly where everything is, which speeds up both recording and mixing.
Routing and Subgroups for a Cleaner Mix
Good routing is another key to an efficient session. I send related tracks to subgroups, which allows me to process them as a unit. For example, my drum overheads go to a stereo subgroup so I can EQ and compress them together. If I record a guitar amp with two mics, I route those mics to a subgroup for easier balancing.
At the highest level, I have five or six main groups: DRUMS, BASS, GUITARS, INSTRUMENTS, VOCALS, and EFFECTS. This way, I can mix my session using just a handful of faders instead of constantly adjusting dozens of individual tracks.
I/O Routing: Setting Up for Efficiency
One often-overlooked aspect of session organization is input and output (I/O) routing. If you’re working with a simple interface, this might not seem like a big deal. But as your setup grows, managing your I/O efficiently becomes essential.
I use a consistent input/output setup across my sessions so that I don’t have to reconfigure everything every time I start a new project. This includes naming my I/O paths, organizing my bus routing, and making sure my interface inputs and outputs are mapped in a way that makes sense for my workflow.
Final Thoughts: Invest in Organization to Save Time
Taking the time to set up a solid session organization system may feel tedious at first, but it pays off in the long run. The more consistent you are, the faster you’ll be able to navigate your projects, whether you’re recording, mixing, or collaborating with others.
If you’re just getting started with organizing your sessions, don’t stress too much about getting it perfect right away. Start with a simple system, refine it as you go, and eventually, you’ll find a workflow that feels natural.
I’ve also put together some additional resources, including a blog post and a video series on session routing in Pro Tools. You can find the links in the show notes if you want to dive deeper.
Thanks for tuning in! I hope this episode helps you streamline your own sessions and free up more time for creativity. See you next time!