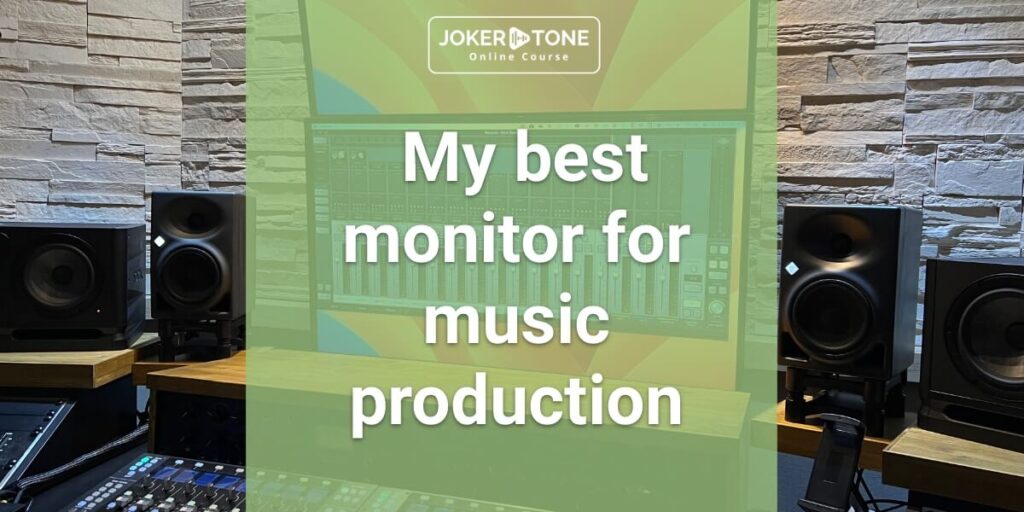
In the era of digital audio production with plugins and DAW, we are all very reliant on visual feedback. Despite numerous options for hardware controllers, we still need at least one screen for the DAW and all other displays. If you are also looking for a new and the best monitor for music production or want to optimize your existing setup, my search process may give you some helpful suggestions. This post is less about the technical aspects of one or more computer screens. It is more about how to plan your setup and choose the best monitor for music production that suits your needs inside your home recording environment. Although, this always depends on your workflow and technical requirements.
The non-technical facts for the best monitor for music production
At the beginning of 2023, I was finally able to start my long-planned project – the construction of a 2-room recording studio in my house for my music production as well as for commissioned work in the audio sector.
During the initial planning, which of course I must adapt to the room circumstances and the budget, I quickly came to the question: How and which screens do I want to use in my setup?
Of course, the basis for my considerations was my previous experience of working with a DAW. Throughout the production, you are very tied up with the view on the screens. There are quite a few factors that play a role in the decision of the best monitor for music production. And that is not where the technical requirements are listed.
- The angle of view must be right,
- The display should not be too small, i.e., not too far away,
- But also, not too close, so as not to move the head too much,
- One large screen or two smaller ones
- Side-by-side or superimposed screens
My past setup of displays for the DAW
To achieve the setup for the best monitor for music production, you might even try out a few settings. Are two monitors enough at all, is one larger monitor the better choice, or should it be up to a three-display setup?
An incredibly good question to ask myself, and the first thing I did was look back at all my setups.
I cannot remember 100% the screen I used on my first DAW, but this one was either 19″ or 21.5″.
With the purchase of a MacBook Pro (2007), I initially had the 15″ display in use alone. Later, I paired it with another screen, which I hung on the wall so that it hung over the unfolded MacBook. This was my first double-screen setup. I liked it very much because I had opened the windows of the mixer and the track editor separately from the beginning. For me, it had more of an “analog workflow”.
With my first Mac Pro (bought in 2009) I had to get a second screen and I kept the setup with two screens on top of each other for reasons of space. After moving to a new place, I was able to move my monitor speakers a little further apart and tried a setup with two 24″ monitors next to each other.
Through regular work with the DAW, I gradually learned to use more shortcuts, and so a change followed in 2011. I no longer looked at the mixer window and the individual track view at the same time but switched back and forth between these two views using a button shortcut. The consequence of this was that I placed a 32″ screen in the middle of me and another screen to the right. On the right monitor, only a few plugins were open or the mixer representation of my interface (at that time a MOTU 24io PCIe and later a Universal Audio Apollo 1st generation)
With the black and round Mac Pro design (known as “Trashcan”) also came the Magic Mouse, and for me, in 2016 it took over the shortcut to switch between the windows with a 3-finger tap (this is what the app does…). I still use this 3-finger tap with the Magic Mouse today and could not imagine having to do without this feature.
Due to a change of location, I had to use my TV Sony 49″ as a DAW screen for a shorter period, and that worked surprisingly well. I was positively surprised by the display and impressed by the overview that such a large screen offers. But I was sitting a little too close now for the size of the screen.
During the renovation of my house and the subsequent construction of the recording studio, I was able to build up a slightly larger setup in a selected room. I came back to the tried and tested variant with a centered 32″ TV monitor and a 24″ computer display (on the side – only for metering plugins).
My decision for a two-display setup + additional options
Meanwhile, I have landed on a Mac Studio that has enough power to run large displays with high or, for me, completely sufficient resolution.
With the last variant, I was bothered by the fact that I always had to turn my head way more to the right to look at the second screen for certain views or plugin representations. I do not have anything against movements, and I like to get up now and then during production, but it was not a pleasant way to work overall. Additionally, I had the plan to add another pair of speakers to my monitoring setup. This would have left no room for a monitor on either side. So, it should be a setup where the screens are on top of each other.
In addition, I knew two other decisions for the choice of the best monitor for music production
- My sitting and listening position, i.e., how far away from the wall where the screens are to be hung.
- The visual exchange between the control room and the recording room was to be done via two cameras, as I had decided against a window between the two rooms.
In the end, the choice fell on 2x 43″ TV screens, which were positioned on top of each other, with the additional option to integrate my existing iPad as a small monitor as well. In the recording/live room, the previous 32″ TV screen was installed as a receiver for the camera of the control room.
For all my pre-planned setups, a visual system was now ready that could be adapted to the conditions with just a few buttons:
- Recording others
- Recording myself
- Mixing
1. Recording Setup to record other
- The top display on HDMI Input 1 gets the signal from the camera of the Live Room
- The bottom display is my DAW screen
- iPad could be used as an additional display for metering plugins
- 32“ display in Live Room gets the signal from the camera of the control room
2. Recording Setup to record myself
- The top display on HDMI Input 2 holds the metering plugins
- The bottom display is my DAW screen
- iPad could be used as a controller in the Live Room
- 32“ display in Live Room shows a 1:1 copy of the bottom Monitor from the Control room
3. Editing and Mixing a song
- The top display on HDMI Input 2 holds the metering plugins
- The bottom display is my DAW screen
- iPad could be used as an additional display for metering plugins
I chose the 43″ display size as the best monitor for music production. This is the optimal size for the distance I am sitting away from the wall. My listening monitor speakers are in front of the screens, but they do not cover a single pixel. I hardly must move my head, either to the side or up. I can see all the information very well.
It took a while, and I was not sure how good the DAW would look and handle on a TV screen. But while working on a Sony 49″ and a Philips 32″ monitor, I did not notice any problems or latencies. My choice fell on two LG 43″. The ratings regarding display and latencies for games were particularly good for the price performance. And now that I have added them to my setup, I do not regret this decision.
Would that be the best monitor for music production and the right setup for you?
No! Unless you are working with the same setup in a room I do.
To help you find your best setup, here are a few useful check-up questions. With their answers, you should be able to put together your setup faster.
Checklist to find the best monitor for music production
- Which views of the DAW or apps do you want to work with (mixers and tracks separately, specific areas for opening plugins, permanent display of metering plugins)
- How far away do you sit from the possible place to set up or hang up?
- Can you see small display elements without leaning forward (a sign that you may be too far away or that the resolution is too small for your sitting position)?
- Do you have to move your head clearly to see the display in the corners of the screen (a sign that you are sitting too close)
- Do you need one or two, several smaller screens?
- Can you place your listening speakers and screens so that they do not obscure each other? (Your monitoring speakers should have priority for the placement!)
- Can you place the screens so that you are not in an awkward ergonomic position?
- Is your computer technically compatible and has the necessary ports to run the desired number of screens at the desired resolution without interference?
Since I was unsure which screens it should be, I grabbed my MacBook Air and went to an electronics store. There I kindly asked a salesperson if I could connect it to a selected screen and then stood there with the later removal of the planned listening positions.
Due to the offers, I ended up ordering my best monitor for music production online, but I was happy to have made an excellent choice with the size.
Conclusion for the best monitor for music production
It took me a while to reach this kind of setup. But even while I had years of experience and tested different kinds of setups, this was not an easy task of choice. This kind of checklist helped me very well to narrow down my selection and find the best setup. You will always be dependent on your spatial circumstances, but technical and the way you work will influence your choice.
A good and relaxed view of your DAW is just as important as how comfortable you feel in your room and how you can listen to your music. Finally, it’s the same with songwriting and arrangement. It’s never just one instrument or one vocal that makes the song so special — it’s the interplay of many details that makes your song a special listening experience. It’s the same with your setup for your music production.
Links:
If you have further questions or want to get in contact, please consider using the contact form
Niels from Joker Tone Course